
How to configure proxy settings on ParseHub
1. Open ParseHub.
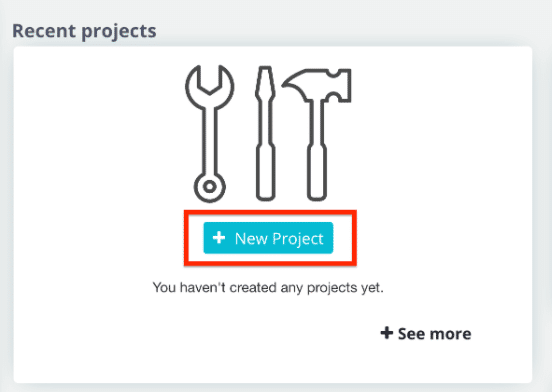
2. Click on ‘+ New Project‘ button from the home screen to create a new project in Parsehub.
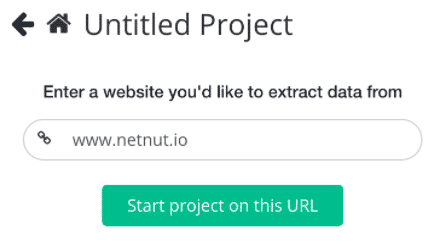
3. Enter a URL that you would like to extract data from. For this example, we used netnut.io.
Then, click on the ‘Start project on this URL‘ button.
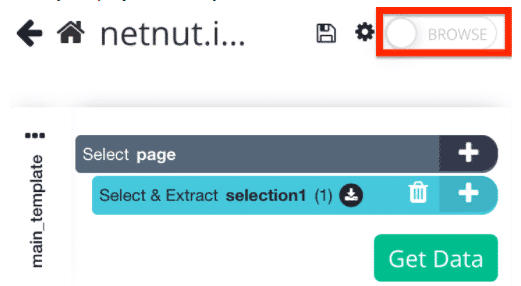
4. Once your project is ready, switch to ‘Browse‘ mode.
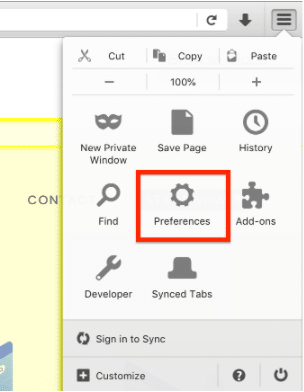
5. When the Browse slider turns green, open Preferences tab from the drop-down found on the top-right side.
6. In the Preferences menu side-bar, select ‘Advanced‘.
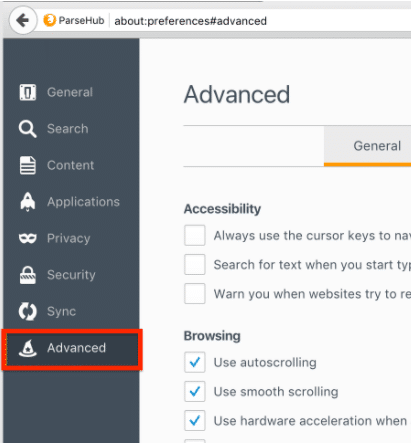
7. From the ‘Advanced’ tab, click on the ‘Network’ tab, and then ‘Settings‘.

8. In the ‘HTTP Proxy‘ field, enter gw.ntnt.io and in the Port field, enter 5959. Then, click ‘OK’.
*Note – leave the SOCKS Host field empty.

Check your IP address using an IP database such as whatsmyip.com to make sure the NetNut proxy is working.
DONE! ParseHub will now run through NetNut proxies,
as easy as that!