Managing multiple social media and e-commerce accounts can be challenging, especially when privacy and security are paramount. This guide will walk you through downloading, installing, and configuring MoreLogin with NetNut’s robust proxy services. By integrating NetNut’s proxies, you can enhance your online privacy, avoid detection, and manage multiple accounts seamlessly, ensuring a secure and smooth experience.
What Is MoreLogin Browser?
MoreLogin is a versatile multi-login browser management tool designed for both Windows and Mac operating systems. MoreLogin is a versatile tool designed to help users manage multiple social media and e-commerce accounts securely and efficiently. It allows you to create and manage distinct browser profiles, each with its own proxy settings and user environment. This separation ensures that activities across different accounts remain isolated, reducing the risk of detection and enhancing privacy. When combined with NetNut’s robust proxy services, MoreLogin provides a comprehensive solution for maintaining anonymity and managing multiple online identities seamlessly.
With MoreLogin, you can seamlessly integrate NetNut Residential Proxies to enhance your browsing experience. Here’s how to set it up:
How To Configure & Set Up MoreLogin
Step 1: Download and Install MoreLogin
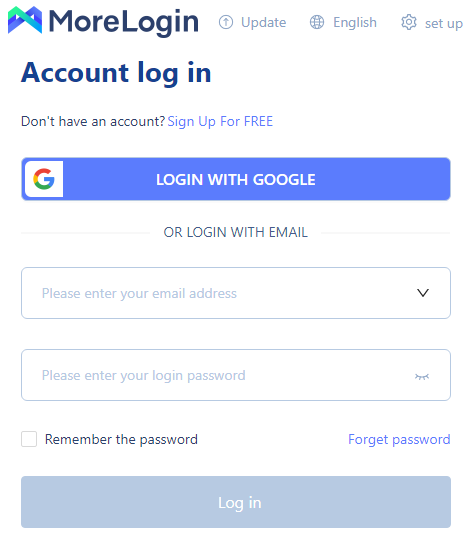
Start by downloading MoreLogin and completing the installation process. Once installed, launch the application and either sign in with your credentials or create a free account if you haven’t already.
Step 2: Create a New Profile
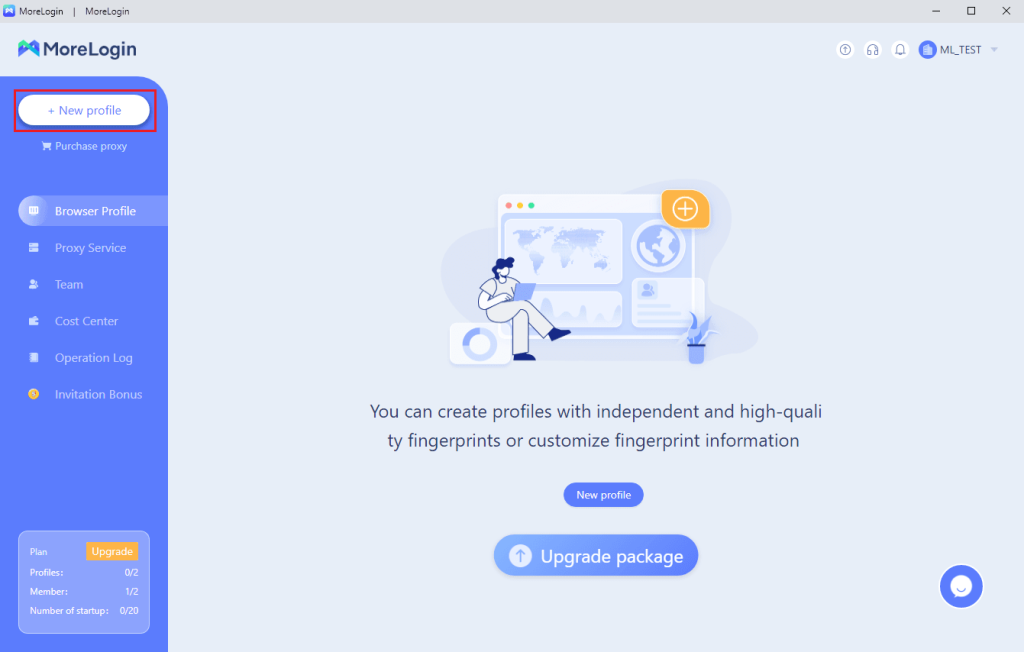
Inside the MoreLogin interface, locate the “New profile” button on the left-hand side. Click on it to initiate the profile creation process.
Step 3: Configure MoreLogin Proxy Settings
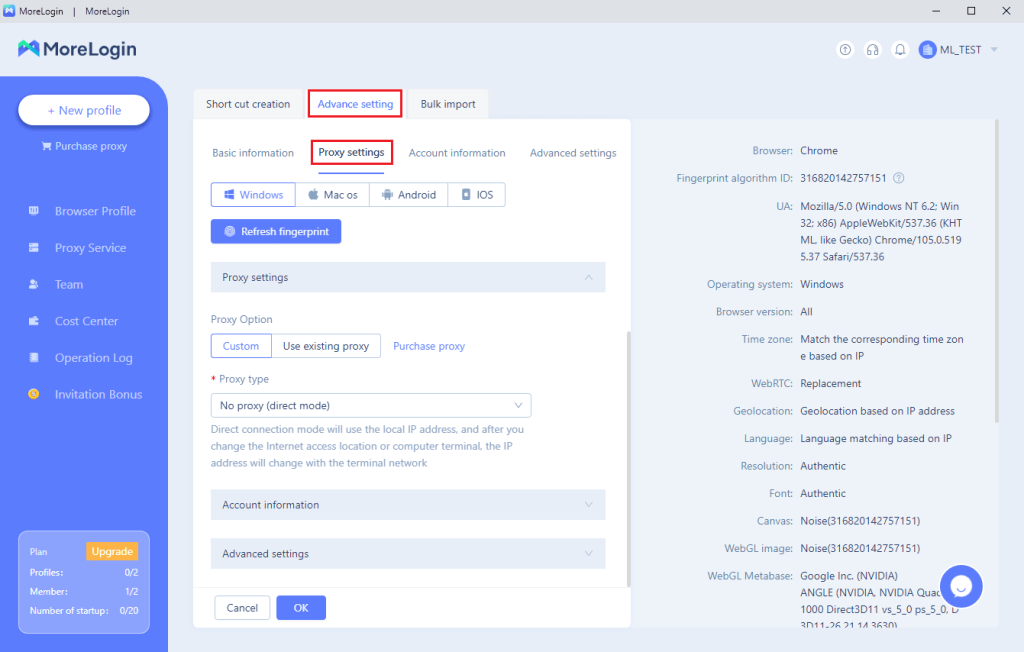
Navigate to “Advanced settings” and then select “Proxy settings” to set up your NetNut Residential Proxies.
*If You Don’t Have Proxy Username and Password:*
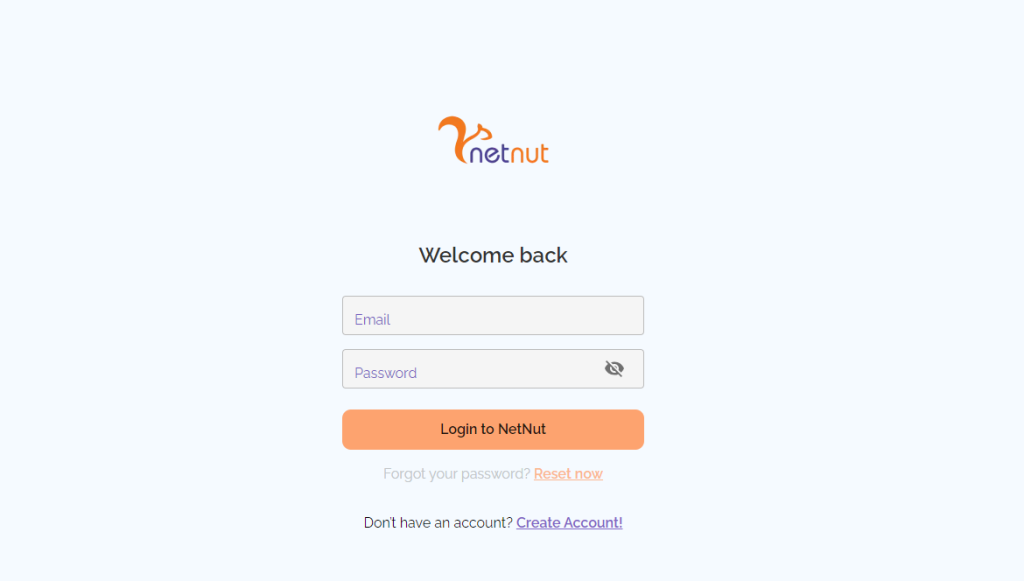
If you do not have a proxy username and password, you’ll need to acquire them. Open a web browser and access the NetNut customer portal using the link provided. Log in with the user credentials you obtained from a sales representative or created yourself
In the portal, go to “Settings” and click on “Account”. Generate a new password and click on “Update”. Make sure to save these credentials for later use.
Step 4: Proxy Configuration
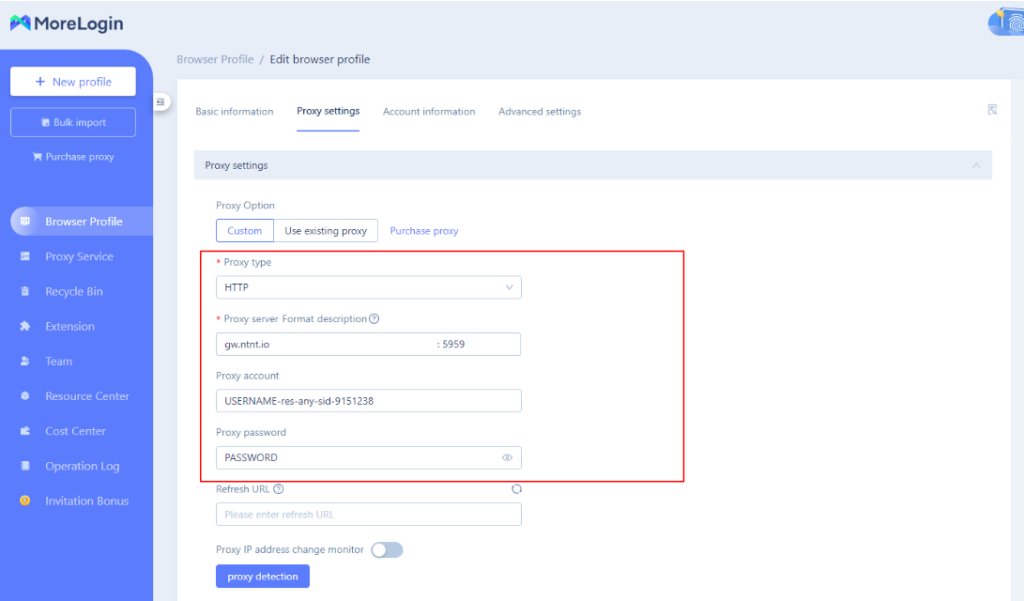
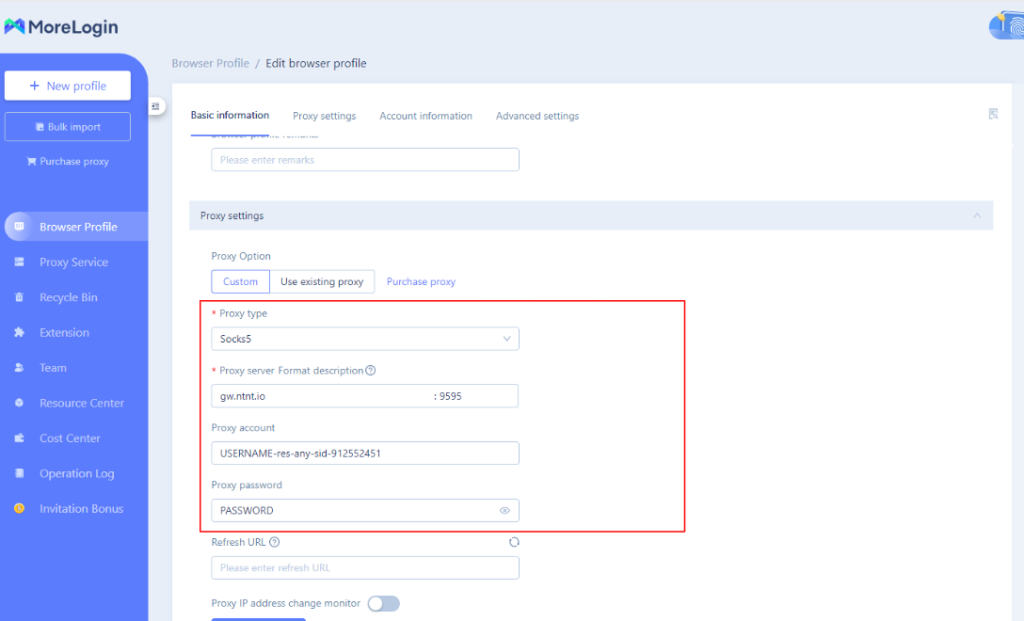
In the “Proxy type” field, choose either HTTP or SOCKS5, depending on your preference. For this example, we will use HTTP. Replace USERNAME with your actual proxy username and PASSWORD with the proxy password provided.
– For HTTP, use the proxy server format description: gw.netnut.net with port 5959.
– For SOCKS5, use the proxy server format description: gw.netnut.net with port 9595.
You can also specify a country code in the “Proxy account” field, such as “row” for the United States or “uk” for the United Kingdom. Additionally, the “sid” field requires a random 6-9 digit number. For example, “9151238”.
Example for HTTP:
Example for SOCKS5:
Step 5: Save Proxy Settings
Click on the “OK” button to save your proxy settings. You will be returned to the “Browser Profile” screen within MoreLogin.
Step 6: Start Browsing
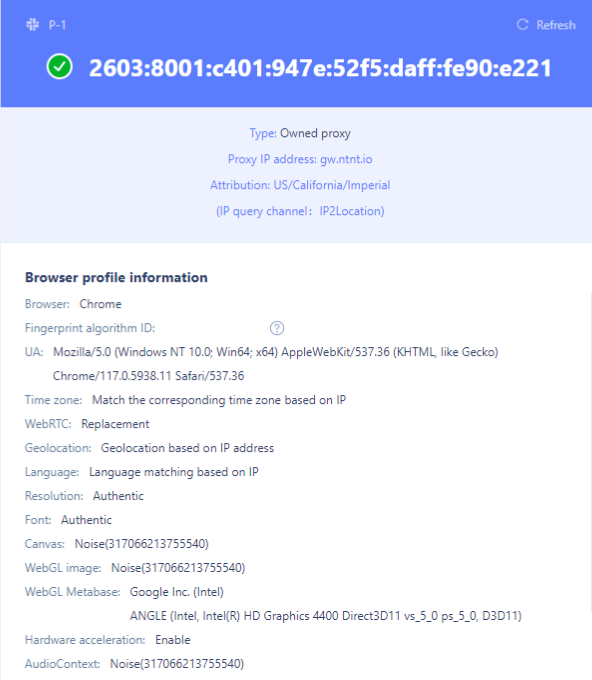
From the “Browser Profile” screen, click on “Start” This action will open a browser window with the first tab displaying your proxy’s IP address, location, and your browser profile information.
Step 7: Verify Proxy Functionality
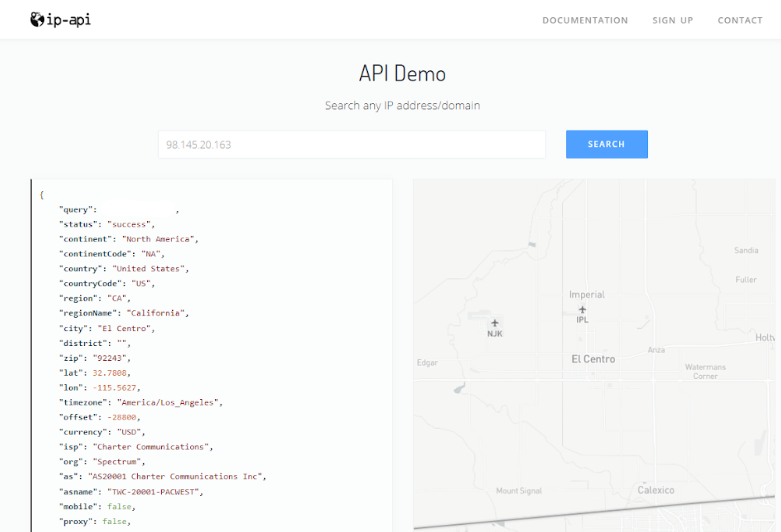
To confirm that your proxy is functioning correctly, you can visit a website like IP-API to check the details of your proxy’s location and ensure smooth browsing.
Final Thoughts On MoreLogin
With MoreLogin and NetNut’s residential proxies, you have a powerful combination for various tasks, including web scraping, e-commerce, social media management, and price comparison. Now that you’ve successfully set up your MoreLogin proxy with NetNut, you can carry out your tasks without worrying about bans, blocks, or other limitations.

