Setting up Primo Browser, a robust tool designed for efficient and secure web browsing, is a straightforward process. This guide will walk you through each step, from signing up for a trial to configuring proxies. Whether you’re on Windows or Mac, you’ll find clear instructions and helpful tips to ensure a smooth installation. Follow along to enhance your browsing experience with Primo Browser’s advanced features.
Primo Browser Video Tutorial:
What is Primo Browser?
Primo Browser is a multi-session privacy browser that gives a unique device fingerprint for each tab that you open. It also allows you to upload proxies that will mask your browsing session so that each tab gets a different IP address.
How To Install & Set Up Primo Browser
1. Sign up for a free 10-day trial over at https://primobrowser.com
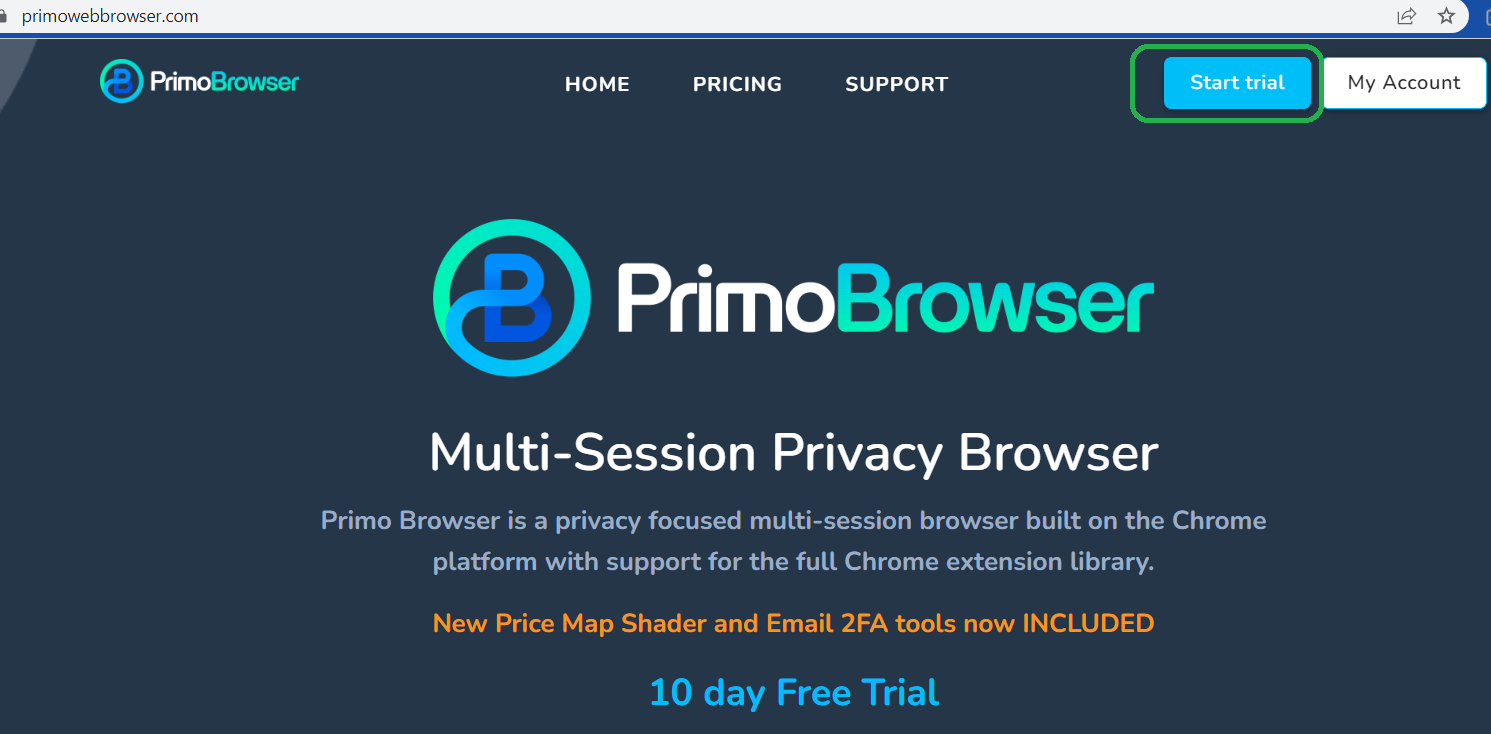
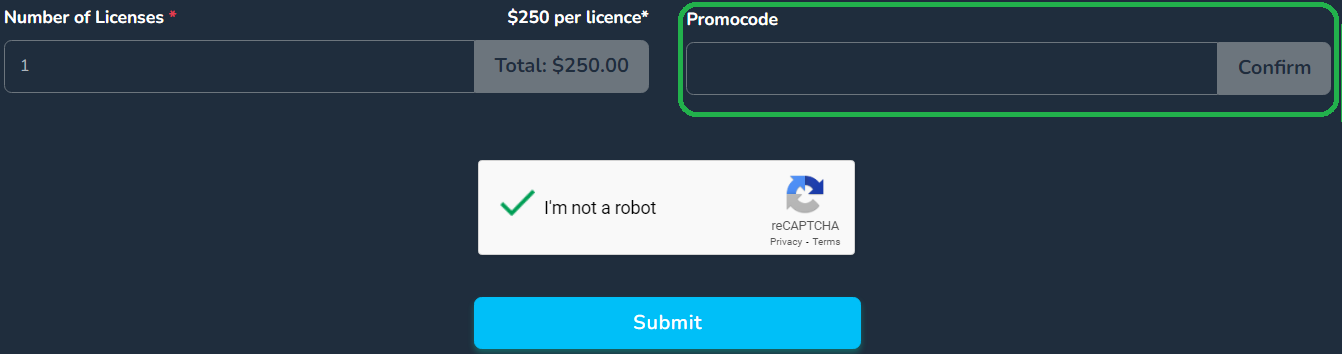
2. On the sign-up page, don’t forget to type in the NETNUT discount/promo code in the “Promo Code” textbox before clicking “Submit” to get a discount off your Primo Browser subscription once your free trial ends.
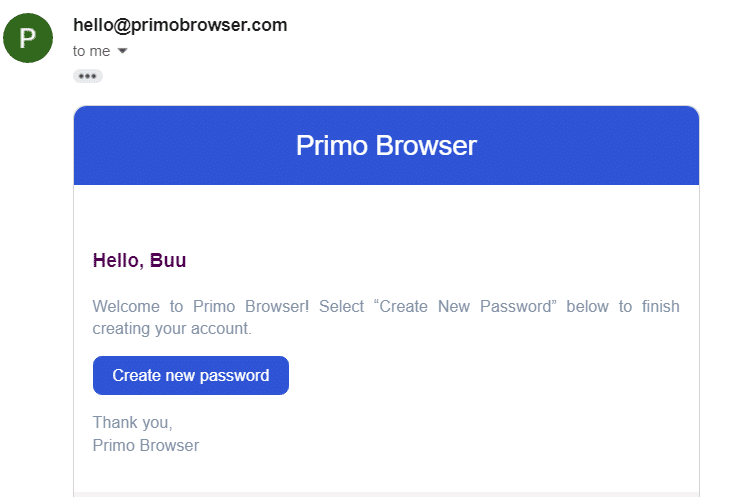
3. Once you’ve completed the sign-up process, an automated email would be sent to your email address that contains a link that would let you create a password for your Primo Browser account. It would likely end up in your spam/junk/trash mail folder so you would need to move it to your inbox first before you can click the link.
4. Log in to the admin panel (https://primoadmin.com/admin/login) and click the button that corresponds to your computer’s operating system to download the installation file.

5. After downloading, double click on the file to run the installer and Primo Browser should automatically open once the installation is complete (if on Windows):
if it doesn’t auto launch, just double click the “Primo Browser” icon on your desktop to launch it.

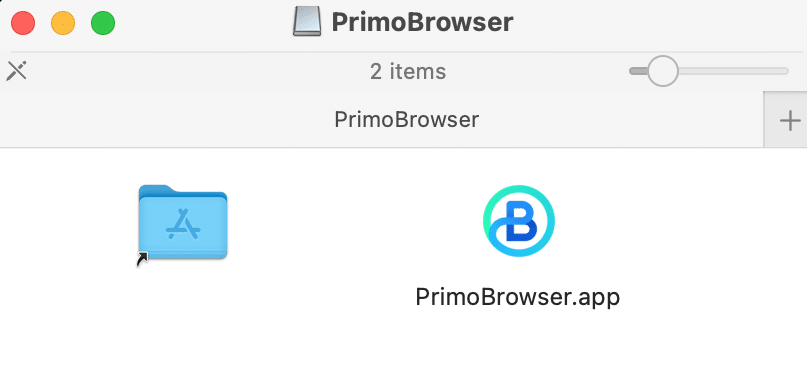
a. But if your computer is running on a Mac, after double clicking the installer drag “Primo Browser.app” to the “Applications” folder on the left, open the “Applications” folder and double click on the “Primo Browser” icon to launch it.
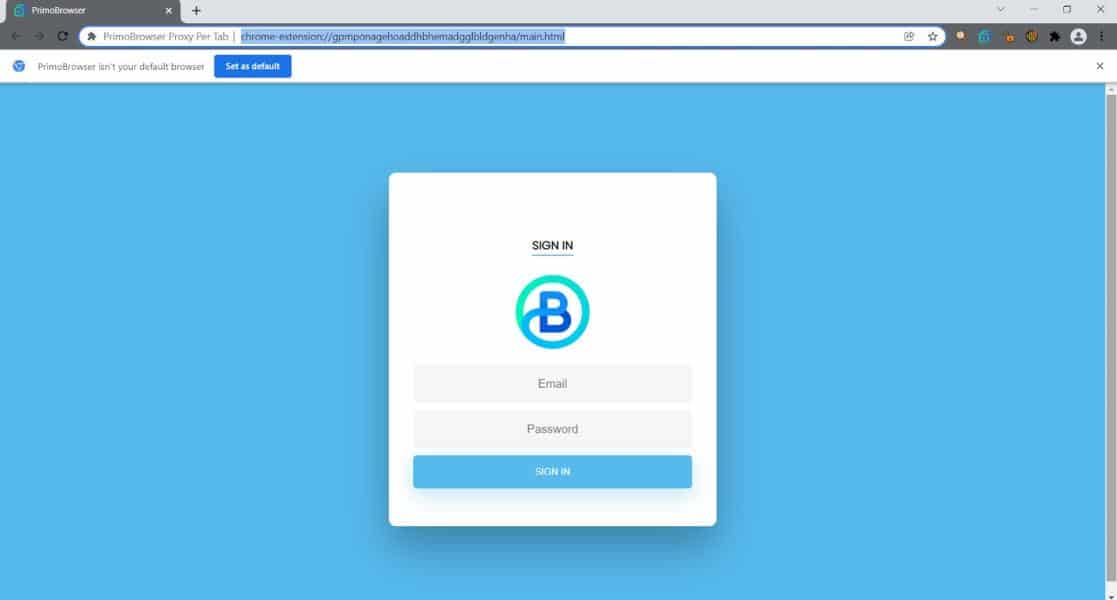
6. Once Primo Browser launches, you should now see the login screen. Enter your login credentials to proceed.
7. Once you’ve installed the Primo Browser, you would need to upload proxies into it. You would need to have a working proxy batch from your proxy provider which you would need to save into a CSV file (sample file can be found here). We can reformat your proxy file for you if needed so that you can upload it to our Primo Browser. Just please reach out to us at hello@primobrowser.com.
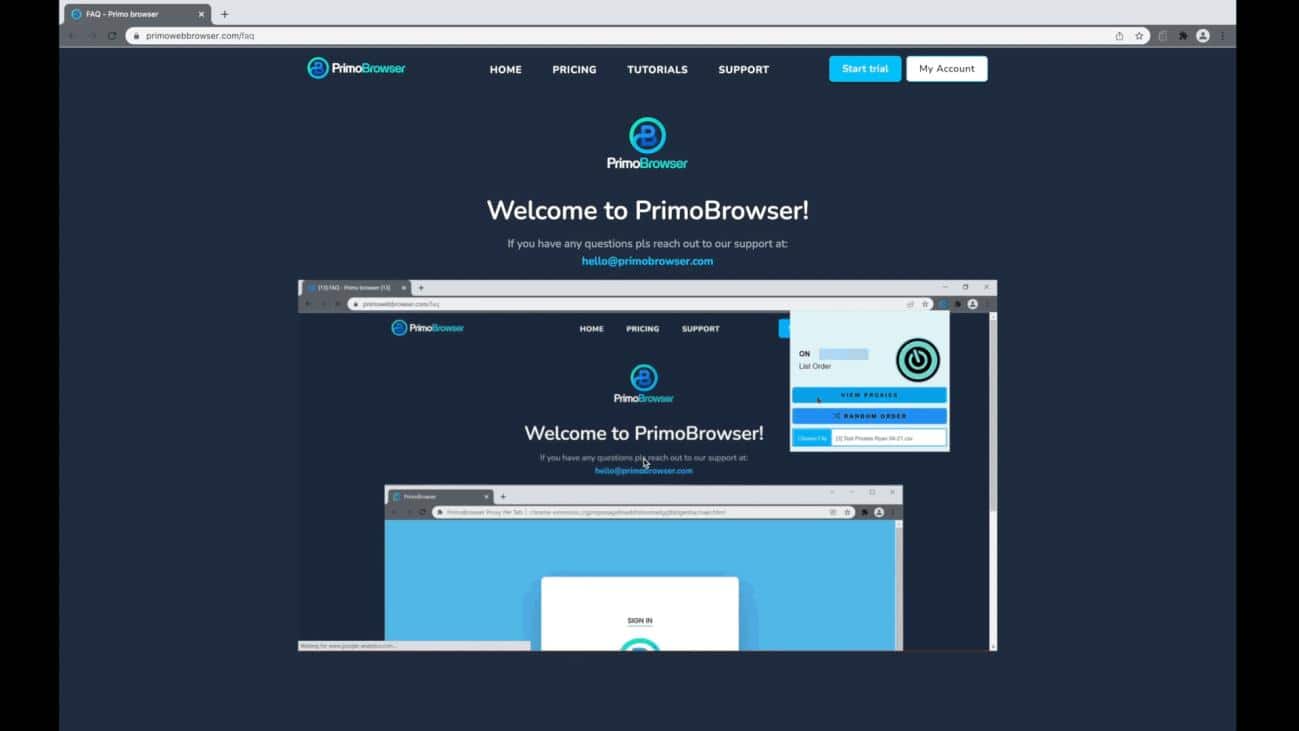
8. Once your proxies are saved in a proxy file, please refer to the steps in this short walkthrough video or to the image below on how you can upload proxies into your Primo Browser:
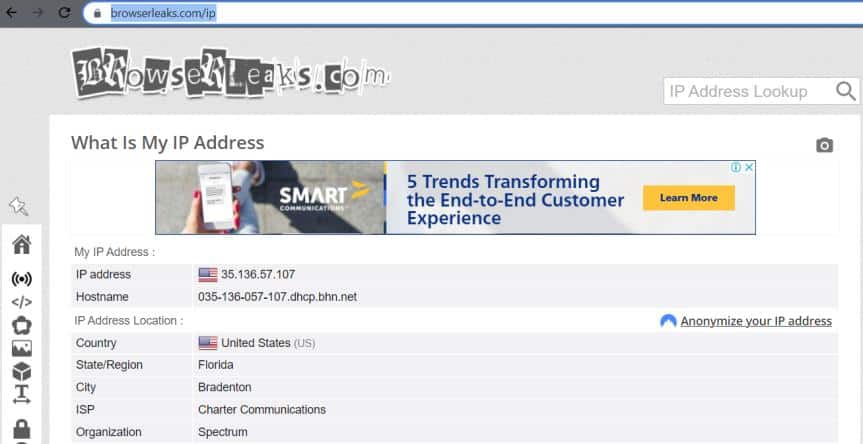
9. Once you’ve enabled the proxies, open 2 or more browser tabs (CTRL + T) and go to www.browserleaks.com/ip to check the IP addresses of each of your Primo Browser tabs. If each tab is getting a different IP address, then that indicates the proxies are working.
10. More walkthrough videos can be found at https://primowebbrowser.com/tutorials. But if you need assistance, please feel free to send us an email at hello@primobrowser.com. Or you may also book a quick meeting with our support manager via https://meetings.hubspot.com/buu/screen-share-session.