Encountering the “DNS server not responding” error can be frustrating, especially when it disrupts your ability to browse the internet. This common error occurs when the Domain Name System (DNS) fails to translate a website’s domain name (like www.google.com) into its corresponding IP address. Since DNS servers are an essential part of how the internet works, this error prevents your browser from connecting to websites.
The good news is that this issue is usually easy to fix with a few simple troubleshooting steps. Whether it’s caused by misconfigured network settings, outdated drivers, or an issue with your DNS server itself, there are practical solutions available. In this guide, we’ll explain what this error means and provide you with nine effective methods to resolve it.
What Does “DNS Server Not Responding” Mean?
The “DNS server not responding” error indicates that your device is unable to communicate with the DNS server it relies on to resolve domain names into IP addresses. Without this process, your browser cannot connect to websites, leaving you unable to access the internet as expected.
Understanding DNS
The Domain Name System (DNS) acts as the internet’s phonebook. It translates human-readable domain names (like www.example.com) into machine-readable IP addresses (such as 192.168.1.1). This translation is crucial for your browser to locate and load a website.
When you encounter a DNS error, it means this translation process has failed. Your device cannot get the necessary IP address from the DNS server, resulting in websites not loading.
Common Causes of the Error
Several factors can trigger the “DNS server not responding” error:
- Unresponsive DNS Servers: The DNS server you’re using might be down or overloaded.
- Network Misconfigurations: Incorrect settings on your device or router can block DNS requests.
- Outdated Software: An outdated network driver or operating system can interfere with DNS resolution.
- Firewall or Antivirus Interference: Overprotective security software may block DNS communication.
- Malware or Viruses: Malicious software can corrupt DNS settings or block requests.
Understanding the root cause is the first step toward resolving the issue effectively. In the next section, we’ll explore nine proven methods to fix the “DNS server not responding” error and restore your internet connectivity.
9 Methods to Fix the “DNS Server Not Responding” Error

If you’re facing the “DNS server not responding” error, try these nine effective methods to troubleshoot and resolve the issue. Follow the steps below to restore your internet connectivity.
1. Restart Your Modem and Router
Sometimes, a simple restart can fix network glitches causing DNS issues. Restarting your modem and router refreshes the connection to your Internet Service Provider (ISP).
How to Restart:
- Power off your modem and router.
- Wait for at least 30 seconds.
- Turn them back on and allow them to reboot.
- Check if the DNS error is resolved by reconnecting to the internet.
2. Change Your DNS Server
Switching to a public DNS server, such as Google Public DNS (8.8.8.8 and 8.8.4.4) or Cloudflare (1.1.1.1), can bypass issues with your ISP’s default DNS.
Steps to Change DNS on Windows:
- Open Control Panel and navigate to Network and Sharing Center.
- Select your active network and click Properties.
- Highlight Internet Protocol Version 4 (TCP/IPv4) and click Properties.
- Select Use the following DNS server addresses and enter the preferred DNS (e.g., 8.8.8.8 for Google).
- Save changes and restart your internet connection.
Steps for macOS:
- Go to System Preferences > Network.
- Select your network and click Advanced.
- Navigate to the DNS tab and add the new DNS addresses.
- Click Apply to save the changes.
3. Flush Your DNS Cache
A corrupted DNS cache can lead to connectivity issues. Clearing the cache forces your system to fetch fresh DNS records.
How to Flush DNS on Windows:
- Press Win + R to open the Run dialog, then type cmd and press Enter.
In the Command Prompt, type:
bash
Copy code
ipconfig /flushdns
- Press Enter. You’ll see a confirmation message indicating the cache has been cleared.
For macOS:
- Open the Terminal.
Type the following command:
Copy code
sudo killall -HUP mDNSResponder
- Press Enter and enter your password if prompted.
4. Temporarily Disable Your Firewall or Antivirus Software
Overprotective firewalls or antivirus programs can sometimes block DNS requests. Disabling these temporarily can help identify if they are the cause.
Steps to Disable Firewall on Windows:
- Open Control Panel and navigate to System and Security > Windows Defender Firewall.
- Click Turn Windows Defender Firewall on or off.
- Select Turn off Windows Defender Firewall and save the changes.
Remember to re-enable your firewall after testing, as it’s a critical security layer.
5. Reset Network Settings
Resetting your network settings can resolve configuration issues affecting DNS communication.
How to Reset Network Settings on Windows:
- Open Settings and go to Network & Internet.
- Click Status, then select Network Reset.
- Follow the prompts to reset your settings and restart your computer.
For macOS:
- Open System Preferences > Network.
- Select your network and click the Minus (-) button to remove it.
- Re-add the network and reconfigure your settings.
6. Update Network Drivers
Outdated network drivers can cause DNS-related problems. Ensure your drivers are up to date.
Steps to Update Drivers on Windows:
- Press Win + X and select Device Manager.
- Expand the Network Adapters section.
- Right-click your adapter and select Update driver.
- Choose Search automatically for updated driver software.
7. Disable IPv6
IPv6 configurations can sometimes conflict with DNS settings, particularly on older systems.
Steps to Disable IPv6 on Windows:
- Go to Control Panel > Network and Sharing Center.
- Select your active network and click Properties.
- Uncheck Internet Protocol Version 6 (TCP/IPv6) and save changes.
For macOS:
- Open System Preferences > Network.
- Select your network and click Advanced.
- Go to the TCP/IP tab and set Configure IPv6 to Off.
8. Test Your Connection in Safe Mode
Booting your computer in Safe Mode disables unnecessary software and drivers, helping you identify conflicts.
How to Boot in Safe Mode (Windows):
- Restart your computer and press F8 before the Windows logo appears.
- Select Safe Mode with Networking from the options.
For macOS:
- Restart your Mac and hold the Shift key as it boots.
- Once in Safe Mode, test your connection.
9. Scan for Malware or Viruses
Malware can interfere with DNS configurations or block communication altogether. Running a full system scan can detect and remove threats.
Use trusted antivirus software to scan your system and eliminate any malware. For added protection, consider using NetNut’s Proxy Services to safeguard your browsing and prevent malicious actors from accessing your data.
Preventing Future DNS Errors
Fixing a “DNS server not responding” error is one thing, but taking steps to prevent it from happening again ensures a smoother and more reliable browsing experience. Here’s how to minimize the risk of future DNS issues.
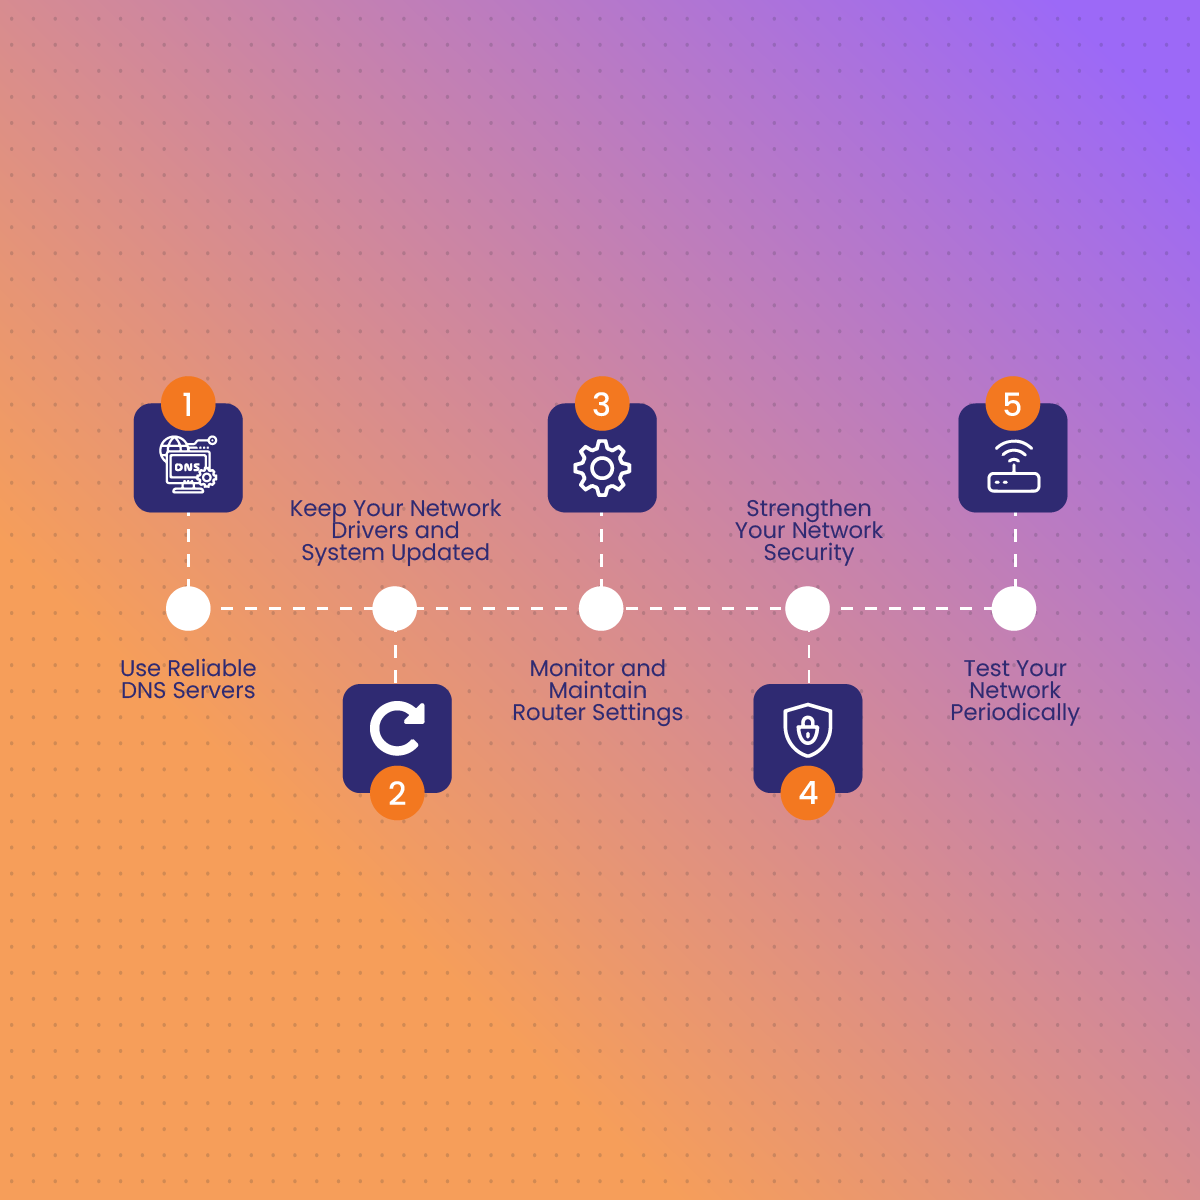
1. Use Reliable DNS Servers
Switching to a dependable DNS server, like Google Public DNS or Cloudflare DNS, can significantly reduce connectivity problems. These servers are fast, secure, and less likely to go down compared to the default DNS provided by your Internet Service Provider (ISP).
To set a permanent DNS server, follow the instructions in Method 2 above, ensuring the new server addresses are saved for long-term use.
2. Keep Your Network Drivers and System Updated
Outdated network drivers or operating systems are common causes of DNS issues. Regular updates ensure compatibility with modern networks and fix bugs that might disrupt DNS requests.
Enable automatic updates on your device to ensure you’re always running the latest versions of your drivers and operating system.
3. Monitor and Maintain Router Settings
Your router is a key component of your network, and its configuration directly affects your internet connection. Regularly check for firmware updates from your router’s manufacturer to address potential vulnerabilities or performance issues.
Additionally, restart your router periodically to clear any temporary glitches that could interfere with DNS communication.
4. Strengthen Your Network Security
Malware and viruses can corrupt DNS settings or block communication altogether. Using trusted antivirus software and running regular scans will help protect your system. Pairing this with privacy tools like proxies ensures an extra layer of defense against malicious actors.
NetNut’s residential proxies offer a robust solution for securing your online activity and maintaining uninterrupted browsing. By bypassing problematic DNS servers and masking your IP address, these proxies protect your connection and prevent exposure to cyber threats.
5. Test Your Network Periodically
Perform routine diagnostics on your network to detect and address potential issues early. Tools like built-in network troubleshooters or third-party diagnostic software can help you identify DNS-related problems before they escalate.
By implementing these preventative measures, you can enjoy a more reliable internet connection and reduce the likelihood of encountering DNS errors in the future.
FAQs About DNS Errors
To provide additional clarity on “DNS server not responding” errors, here are answers to some of the most frequently asked questions about DNS functionality and troubleshooting.
1. What is a DNS server, and why does it sometimes fail to respond?
A DNS server is a system that translates human-readable domain names (like www.google.com) into IP addresses that computers use to identify each other. When a DNS server fails to respond, it means the device cannot communicate with the server to perform this translation. This issue can occur due to server outages, misconfigured settings, or local network problems.
2. Can switching to a different DNS server improve my internet speed?
Yes, switching to a faster and more reliable DNS server can improve browsing speed, especially if your ISP’s DNS is slow or overloaded. Public DNS servers like Google Public DNS (8.8.8.8) or Cloudflare (1.1.1.1) are optimized for speed and can enhance performance by reducing latency during DNS lookups.
3. What is the difference between public and private DNS servers?
- Public DNS Servers: These are open to anyone and often provided by organizations like Google or Cloudflare. They are generally fast, secure, and ideal for general use.
- Private DNS Servers: These are restricted to specific users or organizations, offering more control and customization. They are commonly used in corporate networks for enhanced security.
Public DNS servers are typically sufficient for personal use, while private DNS servers are better suited for environments with strict access requirements.
4. How can proxies help with DNS issues?
Proxies act as intermediaries between your device and the internet, bypassing problematic DNS servers and ensuring a more stable connection. By routing your traffic through alternative pathways, proxies can resolve DNS errors and enhance privacy.
NetNut’s Proxy Services are particularly effective in providing a secure and reliable connection, ensuring that DNS issues don’t disrupt your browsing experience.
5. Is disabling the firewall safe when troubleshooting DNS errors?
Disabling your firewall temporarily can help identify whether it’s causing the issue, but it’s essential to turn it back on after testing. Firewalls are critical for protecting your network from malicious attacks. If your firewall is the cause, consider updating its configuration to allow DNS traffic instead of leaving it disabled.
By understanding these common questions, you’ll have a better grasp of how DNS works and how to address related issues effectively. For ongoing protection and privacy, consider leveraging tools like proxies to safeguard your online activity and ensure a seamless browsing experience.