Introduction
Puppeteer is a Node.js library that provides a high level API to control Chromium-based browsers. By default, Puppeteer runs in a headless mode. However, it can be configured to run in full Chromium-mode. This library is known for its ability to automate various tasks including form submission, UI testing, taking screenshots of web pages, web scraping, and more. In addition, it provides a wide range of functionalities such as DOM manipulation, JavaScript execution within a web page, navigation, network interception, and more.
Proxies are essential in the efficiency of the Puppeteer by routing your device network through intermediary servers. Therefore, this guide will examine how to use a Puppeteer proxy, choosing the best proxy server, and FAQs.
Let us dive in!
Why is Puppeteer Proxy Important?
A proxy acts as an intermediary between the client (Puppeteer) and the target website. Puppeteer comes with built-in support for using proxies, which allows you to manipulate network traffic and simulate various scenarios for web automation tasks. In addition, it supports HTTP, HTTPS, and SOCKS5 proxy protocols.
After successfully configuring the Puppeteer proxy, all requests will be channeled through the proxy server. Subsequently, this allows you to manipulate network traffic, modify headers, rotate proxies, or add necessary scripts to overcome rate-limits and avoid IP bans.
Here are some reasons why using a Puppeteer proxy is crucial:
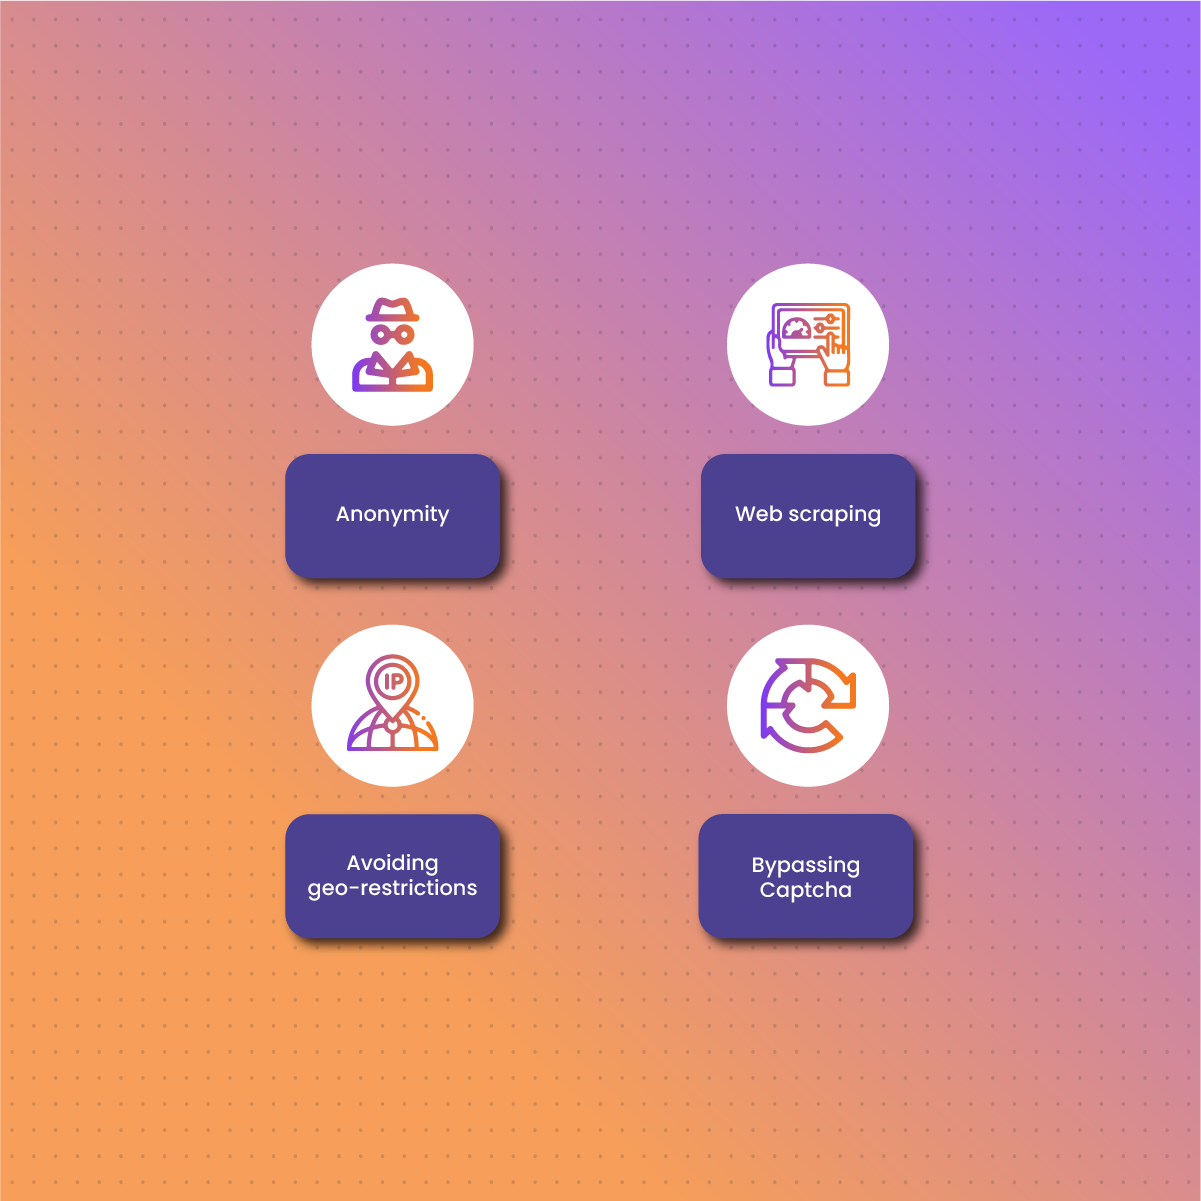
Anonymity
One of the primary reasons why you may need to use a Puppeteer proxy is anonymity. These proxies work by hiding your actual IP address as you access web pages. Subsequently, this is crucial for web scraping because it helps you avoid IP blacklisting or ban that could be triggered by sending too many requests within a short time. Therefore, channeling your network traffic through a proxy is necessary to maintain anonymity and privacy as you perform various activities on the web.
Web scraping
Data has become the cornerstone of many organizations. One of the most efficient ways to gather data is through automated web scraping. However, many modern websites have robust anti-bot features to prevent web scraping. Some of the features include rate limiting, CAPTCHA, or IP ban as an attempt to preserve the integrity of their website and its performance. Therefore, using Puppeteer proxies allows you to send requests to gather data without triggering these measures. Subsequently, this ensures businesses and individuals have access to real-time data that can be used to make crucial decisions.
Avoiding geo-restrictions
Internet users, at one point or the other has experienced geographical restriction. This occurs when the target website restricts access from certain locations. Since it can see your IP address, it can determine your location, which can trigger a block. However, using proxies allows you to bypass these restrictions. Therefore, it becomes necessary to choose a proxy provider that offers a large IP pool that covers several locations. Subsequently, bypassing geographical restrictions allows you to access data that would be otherwise inaccessible.
Bypassing Captcha
CAPTCHA is a test designed to tell humans apart from computers. Many websites use this strategy to restrict access to bots, which can send too many requests that can cause lagging and affect the actual user’s experience. While there are some bad bots that are used for malicious activities, web scraping bots are examples of useful bots that play crucial roles in decision-making. Therefore, using Puppeteer proxies allows you to bypass CAPTCHAs, which optimizes the efficiency of web scraping.
Prerequisites to using a Puppeteer proxy
Before you dive into setting up a Puppeteer proxy, ensure you have installed Node.js on your device. If this is not the case, visit the official website to download the latest version that is compatible with your device. Once the download is complete, double-click on the installer and follow the instructions.
The first step is to verify that Node.js is working by running this code in the terminal:
node -v
Subsequently, it should produce a result that looks like this:
v18.16.0
The next step is to initialize a Node.js project and add the puppeteer npm package to the dependencies with this code:
npm install Puppeteer
Now, you can use Puppeteer to control Chrome using the code below. It imports the web scraping library, initializes a headless browser instance, and instructs it to visit the target page as shown below:
const puppeteer = require(‘puppeteer’)
async function scrapeData() {
// launch a browser instance
const browser = await puppeteer.launch()
// open a new page in the current browser context
const page = await browser.newPage()
// visit the target page in the browser
await page.goto(‘https://developer.chrome.com/’)
// scraping logic…
await browser.close()
}
scrapeData()
Adding a Proxy to Puppeteer
Adding a proxy in Puppeteer involves three primary steps, and they include:
- Obtain a valid proxy server URL
- Specify it in the –proxy-server Chrome flag
- Connect to the target page
Now, let us examine the process in detail:
- Retrieve the URL of a proxy server. Then configure Puppeteer to start Chrome with the –proxy-server option like this:
// free proxy server URL
const proxy URL = `https://121.10.212.10:5959`
// launch a browser instance with the
// –proxy-server flag enabled
const browser = await puppeteer.launch({
args: [`–proxy-server=${proxyURL}`]
})
Subsequently, the controlled Chrome instance will run all requests via the proxy server set in the flag.
- You can use https://httpbin.org/ip as the target URL to ensure the proxy works:
await page.goto(‘https://httpbin.org/ip’)
The website above returns the caller’s IP.
- In addition, you can extract the text content of the target website and print it in JSON format as shown below:
const body = await page.waitForSelector(‘body’)
const ip = await body.getProperty(‘textContent’)
console.log(await ip.jsonValue())
- Now, let us put all the code together so we can run it:
const puppeteer = require(‘puppeteer’)
async function scrapeData() {
// free proxy server URL
const proxy URL = ‘https:// 121.10.212.10:5959’
// launch a browser instance with the
// –proxy-server flag enabled
const browser = await puppeteer.launch({
args: [`–proxy-server=${proxyURL}`]
})
// open a new page in the current browser context
const page = await browser.newPage()
// visit the target page
await page.goto(‘https://httpbin.org/ip’)
// extract the IP the request comes from
// and print it
const body = await page.waitForSelector(‘body’)
const ip = await body.getProperty(‘textContent’)
console.log(await ip.jsonValue())
await browser.close()
}
scrapeData()
- Once you have run the script, you can expect a result like this:
{“origin”: “121.10.212.10“}
The result above is the IP of the free proxy server used in this example. It shows that the Puppeteer is visiting the target website via a proxy server. However, we do not recommend the use of free proxies because they pose several security, privacy, and performance challenges.
Puppeteer Proxy Authentication: Username and Password
Premium proxies often come with authentication details to ensure only users with valid credentials can use the servers. The URL usually contains the proxy server’s username and password. It should look like this:
<PROXY_PROTOCOL>://<USERNAME>:<PASSWORD>@<PROXY_IP_ADDRESS>:<PROXY_PORT>
However, there is one challenge – Chrome does not support the above syntax because it ignores the username and password by default. Therefore, Puppeteer introduced the authenticate ( ) method. It accepts a pair of credentials and uses them to perform basic HTTP authentication:
await page.authenticate({ username, password })
Now, you can use this method to handle proxy authentication in Puppeteer, as shown below:
const puppeteer = require(‘puppeteer’)
async function scrapeData() {
// authenticated proxy server info
const proxy URL = ‘https:// 121.10.212.10:5959’
const proxyUsername = ‘username’ //input real proxy username
const proxyPassword = ‘password’ //input real proxy password
// launch a browser instance with the
// –proxy-server flag enabled
const browser = await puppeteer.launch({
args: [`–proxy-server=${proxyURL}`]
})
// open a new page in the current browser context
const page = await browser.newPage()
// specify the proxy credentials before
// visiting the page
await page.authenticate({
username: proxyUsername,
password: proxyPassword,
})
// visit the target page
await page.goto(‘https://httpbin.org/ip’)
// extract the IP the request comes from
// and print it
const body = await page.waitForSelector(‘body’)
const ip = await body.getProperty(‘textContent’)
console.log(await ip.jsonValue()) // { “origin”: “121.10.212.10:5959” }
await browser.close()
}
scrapeData()
If the credentials are wrong, the proxy server will return an error message: 407:Proxy Authentication Required, and the script will fail with ERR_HTTP_RESPONSE_CODE_FAILURE. Therefore, ensure the username and password are valid.
Using a Rotating Proxy in Puppeteer with Node.JS
Using a proxy is an excellent decision because it masks your IP address. However, for automated tasks like web scraping, using a proxy without rotating it will eventually result in an IP ban. Rotating the Puppeteer proxy allows you to change proxies after making a certain number of predefined requests. Subsequently, the target website cannot track you, but you can avoid IP bans. Therefore, in this section, we will discuss how to implement proxy rotation and bypass CAPTCHAs in Puppeteer.
Step 1: The first criterion is to choose a proxy provider with a large IP pool across several countries. However, for the purpose of this illustration, we shall use a list of free proxies as shown below:
const proxies = [
‘https://45.84.227.55:1000’,
‘https://66.70.178.214:9300’,
// …
‘https://104.248.90.212:80’
]
Step 2: The next step is to create a function that extracts a random proxy and uses it to launch a new Chrome instance like this:
const puppeteer = require(‘puppeteer’)
// the proxies to rotate on
const proxies = [
‘https://19.151.94.248:88’,
‘https://149.169.197.151:80’,
// …
‘https://212.76.118.242:97’
]
async function launchBrowserWithProxy() {
// extract a random proxy from the list of proxies
const randomProxy = proxies[Math.floor(Math.random() * proxies.length)]
const browser = await puppeteer.launch({
args: [`–proxy-server=${randomProxy}`]
})
return browser
}
Step 3: Use launchBrowserWithProxy ( ) instead of the typical launch () Puppeteer method
// launchBrowserWithProxy() definition…
async function scrapeSpecificPage() {
const browser = await launchBrowserWithProxy()
const page = await browser.newPage()
// visit the target page
await page.goto(‘https://example.com/page-to-scrape’)
// scrape data…
await browser.close()
}
scrapeSpecificPage()
The Puppeteer script is ready, and you can use it again every time you need to scrape a new web page. This method is resource intensive because it requires initiating a new browser for each page the scraper needs to visit.
Customize Puppeteer proxy
As mentioned earlier, the script above has several limitations especially regarding Customizing IP per page. Therefore, we can use the function puppeteer-page-proxy because it extends Puppeteer to allow setting proxies per page or after a predetermined number of requests. Since Node.js package supports HTTP, HTTPS, and SOCKS proxies, it allows you to scrape several pages in parallel through different proxies in the same browser. Subsequently, this makes it the perfect platform for building an effective proxy rotator in Puppeteer.
Using the puppeteer-page-proxy function primarily involves three steps:
- Install the puppeteer-page-proxy in the terminal
npm install puppeteer-page-proxy
2. Import the function as shown below:
const useProxy = require(‘puppeteer-page-proxy’)
Use the useProxy() function to set the proxy for use for the current page:
3. await useProxy(page, proxy)
Subsequently, the code will look like this:
const puppeteer = require(‘puppeteer’)
const useProxy = require(‘puppeteer-page-proxy’)
const proxies = [
‘https://19.151.94.248:88’,
‘https://149.169.197.151:80’,
// …
‘https://212.76.118.242:97’
]
async function scrapeData() {
const browser = await puppeteer.launch()
const page = await browser.newPage()
// get a random proxy
const proxy = proxies[Math.floor(Math.random() * proxies.length)]
// specify a per-page proxy
await useProxy(page, proxy)
await page.goto(‘https://httpbin.org/ip’)
const body = await page.waitForSelector(‘body’)
const ip = await body.getProperty(‘textContent’)
console.log(await ip.jsonValue())
await browser.close()
}
scrapeData()
Therefore, every time you run the above script, you will see a different IP. To implement a Puppeteer proxy rotator, repeat the logic as shown above before calling page.goto ( ). Consequently, to use an authenticated proxy, you need to specify it in this format:
const proxy = ‘protocol://username:password@host:port’
Choosing the Best Proxy for Puppeteer: NetNut
Free proxies come with several security challenges so there is a high chance of IP block. However, you can avoid this by using premium proxies like NetNut. A headless browser optimizes web automation and testing which can trigger an IP ban due to the automated nature of Puppeteer.
With an extensive network of over 85 million rotating residential proxies in 200 countries and over 1 Million mobile IPS in over 100 countries, NetNut offers various proxy solutions that can be integrated with Puppeteer. NetNut rotating residential proxies provide an unmatched degree of anonymity, which can help minimize IP bans.
Bypassing CAPTCHA is another aspect that must be considered when choosing a proxy server. NetNut proxies come with Smart technology that allows the program to easily by CAPTCHAs. Subsequently, this streamlines whatever automated activities you need to perform with Puppeteer.
In addition, NetNut offers reliable Mobile IPs that provide high-level anonymity and privacy. Alternatively, you can use NetNut Scraper API, which delivers real-time, structured data from global search engines that is tailored to your needs.
Conclusion
This guide has examined the concept of Puppeteer proxies, why they are important, and the techniques to implement them. You can leverage Puppeteer proxies to optimize web scraping and overcome restrictions implemented by many websites. In addition, using proxies with Puppeteer is an excellent technique to avoid IP blocks.
This Node.js library is unique because it supports headless mode- it can load a web page without loading the graphical content. Subsequently, this helps to save memory and resources required to perform automated tasks.
We hope this guide has been useful for you regarding using a Puppeteer proxy. Feel free to contact us if you need expert assistance in choosing the best proxy option for your web activities.
Frequently Asked Questions
What are some common issues associated with setting up Puppeteer proxies?
Here are some common problems you can encounter when setting Puppeteer proxies:
- Error message: One of the most common challenges is Puppeteer returning an error message when you attempt to connect to a proxy server. This may be caused by the need to authenticate with the premium proxy credentials. Subsequently, the solution lies in inputting the proxy username and password in the Puppeteeroptions object.
- Unresponsive page: Although Puppeteer may connect to the proxy server, there may still be some issues loading the page. Usually, this can be caused by a poor internet connection. Therefore, the most common way to fix this problem is to increase the timeout in the Puppeteeroptions objects.
- Other issues: Connecting to a Puppeteer proxy may fail due to other factors. At this stage, you need to contact customer care for further assistance. In addition, using free proxies may be accompanied by poor performance.
What are examples of Puppeteer proxy protocols?
- HTTP proxy: This is an intermediary for Hypertext Transfer Protocol Requests between a client (usually a web browser) and a server. Subsequently, it can handle HTTP requests such as POST, and GET. In addition, the HTTP proxy is suitable for web scraping, browsing, or accessing web services.
- HTTPS proxy: The HTTPS proxy is similar to an HTTP proxy but it can handle Hypertext Transfer Protocol Secure (HTTPS) connections. In other words, it intercepts and relays HTTPS requests, which allows for secure communications between clients and servers. Subsequently, this proxy protocol is used to secure sensitive data and provide an additional layer of encryption.
- SOCKS proxy: Also known as Socket Secure proxy, it operates at a lower level than the HTTP and HTTPS proxies. In addition, it can handle multiple types of network traffic, including TCP and UDP. Therefore, they are best suited for activities like gaming or torrenting.
How can you overcome IP blocks when using Puppeteer proxy?
Here are some methods that allow you to overcome IP blocks when using Puppeteer proxy:
- Rotate IP address: Although Puppeteer does not have built-in support for IP rotation, you can manually switch or use functions as we have discussed in this guide.
- Leverage residential or data center proxies by switching between them to bypass IP-blocking strategies.
- Implement request throttling when writing the script. This mimics human-like browsing behavior and significantly reduces the chances of an IP ban.
- Use premium proxies like NetNut that has SMART CAPTCHA solving features. Bots cannot solve CAPTCHA so this can trigger an IP ban.


