Introduction
Web scraping is no longer a new concept for businesses that rely on up-to-date information to make decisions. There are various ways of collecting the information on a website. You can visit a website and manually copy the information you need onto a Word document or Excel. This method is only applicable when you need access to a small amount of information. Subsequently, manual web scraping is stressful, time-consuming, and prone to error.
Therefore, this guide will examine web scraping with JavaScript– which allows you to collect data in a structured format for various purposes. JavaScript has various libraries that optimize the task of web data retrieval. Puppeteer is a library that allows for advanced web scraping activities in JavaScript, which will be our focus in this guide.
Using Puppeteer to Scrape a JavaScript Website
Puppeteer is a Node library that provides a high-level API that gives you control over the DevTools Protocol of Chrome or Chromium. This library allows you to browse the internet in a headless mode. Subsequently, you can use Puppeteer to visit pages, fill out forms, scroll pages, take screenshots, and click links, which you can do in a standard browser.
One of the most common applications of Puppeteer is web scraping. It allows users to scrape dynamic content- this kind of content changes based on the actions of users. Subsequently, Puppeteer is an excellent choice for scraping web applications that load their content via JavaScript.
How to scrape website with JavaScript
This section will explore the basis of web scraping as well as how to fetch information on a website and click on a button to go to the next page.
Initialize your Puppeteer Scraper
The first step is to initialize your first puppeteer scraper. You can create the first-puppeteer-scraper-example folder on your computer. This folder will contain all the code that will be involved in building the web scraper. Subsequently, you can create a new project folder via mkdir as shown below:
mkdir first-puppeteer-scraper-example
Next, you need to initialize your Node.js repository with a package.json- this allows you to add information to the repository and PM packages such as the Puppeteer. Subsequently, you can initialize the package.json file via the npm init command:
npm init -y
Once you type in the above command, you should find the package.json file in your repository tree:
{
“name”: “first-puppeteer-scraper-example”,
“version”: “1.0.0”,
“main”: “index.js”,
“scripts”: {
“test”: “echo \”Error: no test specified\” && exit 1″
},
“keywords”: [],
“author”: “”,
“license”: “ISC”,
“dependencies”: {
“puppeteer”: “^19.6.2”
},
“type”: “module”,
“devDependencies”: {},
“description”: “”
Moving on, you need to ensure the project is configured to handle ES6 features. You can do this by adding the “types” :”module” at the end of the configuration as shown above.
Install the Puppeteer library with the npm install command:
npm install puppeteer
Selecting Nodes with Puppeteer
Sometimes, extracting data from the entire page may not be the best idea. You may need to select parts of the page and access their attributes. Here are some of the methods you can use to extract data:
- $ (selector), like document.querySelector, will find an element.
- $$ (selector) executes document.querySelectorAll, which locates all the matching nodes on the page.
- $x(expression) evaluates the XPath expression, which helps find texts.
- evaluate(pageFunction, args) function will execute any JavaScript instructions on the browser and return the result.
Puppeteer has several functions that allow you to select nodes and customize data for extraction. For example, if the target website has a node with an H1 containing the title and the a tag’s href attribute, the code will look like this:
await page.goto(‘https://example.com’);
// Get the node and extract the text
const titleNode = await page.$(‘h1’);
const title = await page.evaluate(el => el.innerText, titleNode);
// We can do both actions with one command
// In this case, extract the href attribute instead of the text
const link = await page.$eval(‘a’, anchor => anchor.getAttribute(‘href’));
console.log({ title, link });
Scrape a static website
Similar to other scraping tools, Puppeteer interacts with the HTML code of the target website. The first step is to create a file (let us name it, index.js) and import Puppeteer as shown below:
const puppeteer = require(‘puppeteer’);
Write the code to run the Puppeteer as indicated:
(async () => {
const browser = await puppeteer.launch({
headless: false,
defaultViewport: null
});
const page = await browser.newPage();
await page.goto(‘https://www.example.com);
// all the web scraping will happen here
await browser.close();
})();
The above function opens a browser, finds the target page, scrapes the data, and closes it. You can access the HTML with the $ and $$ methods. However, the easiest way to access the HTML data with Puppeteer is via the page.evaluate method:
const data = await page.evaluate( () => {
let data = [];
const titles = document.querySelectorAll(‘.brd_post_entry’);
for (const title of titles) {
const titleText = title.querySelector(‘.brd_post_title’).textContent;
const titleLink = title.href;
const article = { title: titleText, link: titleLink };
data.push(article);
}
return data;
})
To print the extracted data in the console, add this function:
console.log(data);
Scraping Dynamic Content
One of the advantages of using Puppeteer is that it allows you to scrape dynamic content especially websites that are reliant on JavaScript.
Here are some Puppeteer functions that you can use to load data that is not present when you examine the HTML elements initially.
- waitForNetworkIdle stops the script until the network is idle.
- waitForTimeout: Although it has become obsolete and not recommended, it can timeout for several milliseconds.
- waitForNavigation: This function waits for the browser to navigate to a new URL.
- waitForSelector: This pauses until a node that matches a selector is present.
For this section, we shall examine how to perform various web scraping functions on www.quotes.toscrape.com (URL). We will use a simple script that consists of one function to retrieve the website quotes.
In the index.js file, start a Puppeteer session with puppeteer.launch, which will instantiate a browser variable that plays a significant role in manipulating the browser.
Next, open a new tab/page with browser.newPage function which instantiates a page variable that will be used for manipulating the page.
To get the first quote on the page, you need to inspect the page HTML. Subsequently, you will notice a quote hidden in <div> element with a class name quote (class=”quote”). You need this information since the scraper works with CSS selectors.
Subsequently, we will use the page.goto function to extract the first quote on the target website with the following steps:
- Use the page.evaluate function: It will execute the function passed as a parameter in the page context and return the result.
- Use the document.querySelector to get the quote HTML code as it will fetch the first <div> with the classname quote and returns it.
- Use the quote.querySelector to get the quote text and author from the previously extracted quote HTML node.
The quotes should look like this:
import puppeteer from “puppeteer”;
const getQuotes = async () => {
// Start a Puppeteer session with:
// – a visible browser (`headless: false` – easier to debug because you’ll see the browser in action)
// – no default viewport (`defaultViewport: null` – website page will in full width and height)
const browser = await puppeteer.launch({
headless: false,
defaultViewport: null,
});
// Open a new page
const page = await browser.newPage();
// On this new page:
// – open the “https://quotes.toscrape.com/” website
// – wait until the dom content is loaded (HTML is ready)
await page.goto(“https://quotes.toscrape.com/”, {
waitUntil: “domcontentloaded”,
});
// Get page data
const quotes = await page.evaluate(() => {
// Fetch the first element with class “quote”
const quote = document.querySelector(“.quote”);
// Fetch the sub-elements from the previously fetched quote element
// Get the displayed text and return it (`.innerText`)
const text = quote.querySelector(“.text”).innerText;
const author = quote.querySelector(“.author”).innerText;
return { text, author };
});
// Display the quotes
console.log(quotes);
// Close the browser
await browser.close();
};
// Start the scraping
getQuotes();
You can fetch all the quotes on the page by tweaking the following functions:
Use document.querySelectorAll to fetch all the quotes instead of document.getQuerySelector which selects the first quote on the page.
Convert the fetched elements to a list with Array.from(quoteList) function which ensures the list of quotes is iterable.
Tweak the previous code to get the quote text and author inside the loop and return the result. In other words, the elements with the classname text and author under <div class=”quote”> will be extracted for each quote.
Moving to the next page to scrape quotes on the next pages
We have looked at how to extract the data on a website. However, what of pages with the option of “Next” at the bottom of the website You can use the CSS selectors to find all the elements with the following functions .pager > .next > a:, next > a:
After the console.log(quotes); at the end of the script, you can add await page.click(“.pager > .next > a”);.
Additional Features of Puppeteer
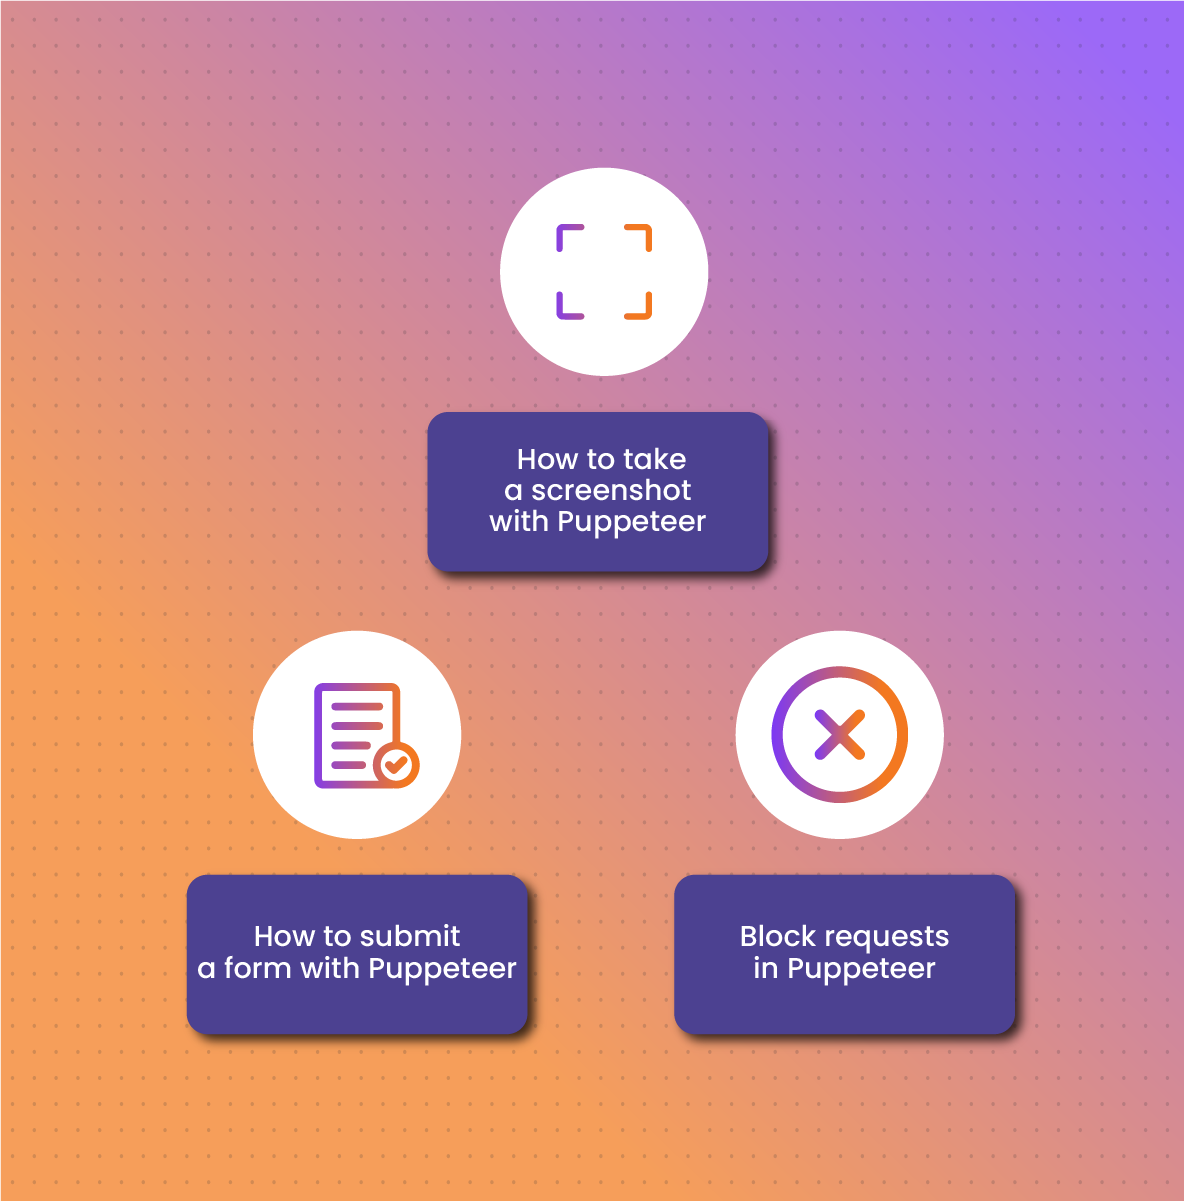
How to take a screenshot with Puppeteer
Another thing you can do with Puppeteer is take screenshots. This feature is useful for creating snapshots, debugging, and more. In your index.js file, run the code below to initiate a screenshot:
await page.screenshot({ path: ‘www.example.png’, fullPage: true });
The fullpage function is set to true because the default value is false, which makes it difficult to capture the entire content.
How to submit a form with Puppeteer
Submitting forms is not uncommon for humans browsing through various websites. Therefore, you may need to replicate this activity so that your scraper can mimic human patterns. For example, you want to use Puppeteer to log in to a website like YouTube. The first thing to do is fill in the search form and submit it.
Bear in mind that Puppeteer browses the web without cookies unless you instruct it otherwise. In this example, you will see the cookie banner at the top of the page. Subsequently, the page will not load until you interact with the page by accepting or rejecting it. Ideally, if you want your search to work, you must interact with this function.
Click and wait for navigation with Promise.all. Since there are several buttons, you need to be specific. Moreover, YouTube uses custom HTML elements like ytd-button-renderer.
const cookieConsentSelector = ‘tp-yt-paper-dialog .eom-button-row:first-child ytd-button-renderer:first-child’;
await page.waitForSelector(cookieConsentSelector);
page.click(cookieConsentSelector);
await page.waitForTimeout(1000);
The next step is to fill out the form and you can use any of these two Puppeteer functions:
- Type, which allows you to enter the query and
- Press, which allows you to submit the form when you hit Enter.
In simpler terms, we are providing instructions that human users will naturally perform on the web page to the program:
const searchInputEl = await page.$(‘#search-form input’);
await searchInputEl.type(‘top 10 songs’);
await searchInputEl.press(‘Enter’);
Block requests in Puppeteer
Your scraper can load images on a website but this is not sustainable for a large-scale web scraping project. A good web spider optimizes resources so it can increase the crawling speed when possible. Therefore, not loading pictures is one of the ways to optimize resources. So, you can leverage Puppeteer’s support for intercepting requests or resource blocking.
When you use the page.setRequestInterception(true) library, it allows you to check requests and abort the ones you don’t want to run. Therefore, it is crucial to run this function before visiting the target page:
await page.setRequestInterception(true);
// Check for files that end/contains png or jpg
page.on(‘request’, interceptedRequest => {
if (
interceptedRequest.url().endsWith(‘.png’) ||
interceptedRequest.url().endsWith(‘.jpg’) ||
interceptedRequest.url().includes(‘.png?’) ||
interceptedRequest.url().includes(‘.jpg?’)
) {
interceptedRequest.abort();
} else {
interceptedRequest.continue();
}
});
// Go to the target website
await page.goto(‘https://www.youtube.com’);
Bear in mind that each of the intercepted requests is an HTTP Request. Subsequently, apart from the URL as shown above, you can access the resource type. An easier alternative is to instruct the scraper to block all images:
// list the resources we don’t want to load
const excludedResourceTypes = [‘stylesheet’, ‘image’, ‘font’, ‘media’, ‘other’, ‘xhr’, ‘manifest’];
page.on(‘request’, interceptedRequest => {
// block resources based in their type
if (excludedResourceTypes.includes(interceptedRequest.resourceType())) {
interceptedRequest.abort();
} else {
interceptedRequest.continue();
}
});
One of the significance of blocking resources is that it saves bandwidth- up to about 80%. This does not come as a surprise as most websites are made of videos and large images that are often heavier than ordinary texts.
Another benefit of blocking proxies is that your scraper generates less traffic, which translates to faster scraping. More so, blocking resources when using metered proxies is less expensive.
Setting HTTP Headers in Puppeteer
Headers are a crucial aspect of your web scraper; by default, Puppeteer sends HeadlessChrome as its user agent. Subsequently, this makes it obvious that there is a high chance that we are dealing with a bot. However, there are several ways to set HTTP headers in Puppeteer.
One of the common methods is using the setExtraHTTPHeaders. This function requires you to execute all header-related functions before you visit the target web page. As a result, it will have all the required data before you visit any external website.
const page = await browser.newPage();
// set headers
await page.setExtraHTTPHeaders({
‘user-agent’: ‘Mozilla/5.0 (Windows NT 10.0; Win64; x64) AppleWebKit/537.36 (KHTML, like Gecko) Chrome/105.0.0.0 Safari/537.36’,
‘custom-header’: ‘1’,
});
// example page that will print the sent headers
await page.goto(‘https://www.httpbin.org/headers’);
const pageContent = await page.$eval(‘pre’, node => JSON.parse(node.innerText));
const userAgent = await page.evaluate(() => navigator.userAgent);
console.log({ headers: pageContent.headers, userAgent });
// {
// headers: {
// ‘Custom-Header’: ‘1’,
// ‘User-Agent’: ‘Mozilla/5.0 (Windows NT 10.0; Win64; x64) AppleWebKit/537.36 (KHTML, like Gecko) Chrome/105.0.0.0 Safari/537.36’,
// …
// },
// userAgent: ‘Mozilla/5.0 (X11; Linux x86_64) AppleWebKit/537.36 (KHTML, like Gecko) HeadlessChrome/101.0.4950.0 Safari/537.36’
// }
While it may seem like all is well, anti-bot systems can be triggered and block your IP address. Since we need a solution to change the user agent per request, we can leverage Puppeteer’s evaluateOnNewDocument to modify the navigator object before visiting a page.
To do that, we need to overwrite the platform property as shown below:
await page.evaluateOnNewDocument(() =>
Object.defineProperty(navigator, ‘platform’, {
get: function () {
return ‘Win32’;
},
})
);
// {
// userAgent: ‘Mozilla/5.0 (Windows NT 10.0; Win64; x64) AppleWebKit/537.36 (KHTML, like Gecko) Chrome/105.0.0.0 Safari/537.36’,
// platform: ‘Win32’,
// }
With the code above, we can set custom headers and user agents. In addition, we can modify properties that do not match. Another alternative can be to add the Puppeteer Stealth plugin as it also helps to bypass anti-bot detection.
Avoiding Bot Detection: NetNut Proxy Solutions

Many websites are implementing anti-bot technologies to identify and block automated programs. This poses a significant challenge to businesses that require access to updated data. Therefore, it becomes necessary to learn how to avoid ant-bot detection. The most common solution is integrating proxies with Puppeteer.
Integrating proxies with Puppeteer
Proxies act as an intermediary between your network traffic and the target website. Subsequently, when you send a request from your device, it goes through the proxy, which receives the response and channels it to your device. In other words, there is no direct communication between your network traffic and the target website.
One of the primary challenges with web scraping is the IP ban. Millions of requests are being sent to data-rich websites daily. Hence, the a need for anti-bot measures that can cause an IP ban when triggered. This protection is necessary to protect the integrity of the website because aggressive scraping can cause it to lag and this has a negative effect on user experience.
Proxies give you access to new IP addresses which helps you to mask your actual IP. Using rotating proxies is an excellent web scraping practice that ensures you have a new IP address for every new request. Subsequently, it makes it more challenging for anti-scraping measures to detect and block your activities.
Here is an example of how to integrate Puppeteer with proxies:
(async () => {
const browser = await puppeteer.launch({
// pass the proxy to the browser
args: [‘–proxy-server=23.26.236.11:3128’],
});
const page = await browser.newPage();
// example page that will print the calling IP address
await page.goto(‘https://www.example.com/ip’);
const ip = await page.$eval(‘pre’, node => node.innerText);
console.log(ip);
// {
// “origin”: “23.26.236.11”
// }
await browser.close();
})();
The example above uses a free proxy, which is not recommended as your security and privacy can be jeopardized. Subsequently, the above example uses sends the request with the same proxy, which may not be ideal for large-scale web scraping. Unless you rotate IPs, you may not be free from IP bans.
Therefore, NetNut premium proxies are your go-to solution for optimal security and privacy.
You can use rotating residential proxies to protect your IP address. This ensures you can continue to access data without worry of IP blocks.
- Some websites have location bans, which becomes a challenge for tasks like geo-targeted scraping. However, with NetNut proxies, you can bypass these geographical restrictions and extract data from websites.
When you need to scrape data using your mobile device, NetNut also has a customized solution for you. NetNut’s Mobile Proxy uses real phone IPs for efficient web scraping and auto-rotates IPs for continuous data collection.
Conclusion
We hope that you find this guide informative as we have learned how to use Puppeteer for scraping static and dynamic web pages. Remember that Puppeteer can perform the activities that a “regular browser” does including typing text, executing JavaScript, clicking items, and scrolling to the next page.
One of the challenges associated with Puppeteer is that the documentation is complex and not suitable for beginners. In addition, you need premium proxies to ensure your activities are not restricted by IP blocks. NetNut offers various proxy solutions that can help you optimize your web scraping activities.
Not sure how to begin your web scraping journey? Contact us today to speak to an expert that will guide you through this exciting journey.
Frequently Asked Questions
What is a headless browser?
A headless browser is like the regular browser but it lacks a graphical user interface. Subsequently, they offer all the functions you would expect in a regular browser. However, they offer more speed and are less resource-intensive. Commonly used browsers like Chrome and Firefox both support headless browsing.
Is Puppeteer good for web scraping?
Yes, Puppeteer is good for web scraping for several reasons. Since it is a headless browser, it is an excellent choice for extracting data from dynamic websites. Dynamic content usually poses a challenge for many web scrapers. However, Puppeteer can load a dynamic website and run the JavaScript on it.
In addition, it can trigger XHR requests to get additional content when the initial HTML is almost without data. Furthermore, Puppeteer can render images which allows you to take screenshots. For example, you can customize your web scraping script to navigate a page and take screenshots at specific points.
What are some tips for web scraping with JavaScript?
Here are some best practices that optimize web scraping with JavaScript:
- Read the website terms of use to ensure you don’t violate the scraping regulations provided.
- Limit the number of HTTP requests to prevent overloading the website
- Use appropriate headers in your HTTP requests to imitate the behavior of a regular/human user
- You can reduce the load on the website by caching web pages and extracting data
- Inspect the website before every scraping activity so you can adjust your headers, rate limit, and other settings as needed.